Preventing Sand Loss When Pressure Cleaning Paved Areas
Across Perth, brick, clay and concrete paving is laid on a bed of sand, and the joints between pavers are filled with fine jointing sand. That sand locks the pavers together, stops them shifting, and keeps weeds and water out. When a pressure cleaner is used carelessly, it can blast the jointing sand out in seconds, leaving gaps, loose pavers and a surface that deteriorates faster than before it was cleaned. This guide explains why sand loss happens, how to prevent it, and what to do if it has already occurred.
Why Sand Loss Matters for Perth Paving
Perth's pavements sit on naturally sandy soils, usually the Bassendean or Spearwood sands of the coastal plain. These soils drain quickly, which is good for paving, but they are also easily displaced by water pressure. The jointing sand is the structural element holding a paved surface together, not just a cosmetic filler.

When joints are emptied, several problems follow:
- Paver movement: Without joint friction, pavers can rock, tilt or drift apart, particularly in driveways where vehicles apply lateral forces.
- Weed growth: Open joints collect dust, organic matter and seeds, so weeds and moss return quickly.
- Water infiltration: Rain and sprinkler water can wash through open joints and erode the bedding sand below, causing dips and sunken areas.
- Ant and pest activity: Open joints and disturbed bedding sand make it easier for ants to nest under paving.
- Edge failure: Pavers along borders can loosen and separate when joint sand is lost.
What Causes Sand Loss During Pressure Cleaning
Excessive Pressure
Pressure cleaners used on paving are often run at much higher pressure than the job requires. Domestic units commonly produce 2,000 to 3,000 PSI, and commercial machines can go well beyond that. Concrete and clay pavers are durable, but the jointing sand is loose material that high-pressure water will displace almost instantly.
Narrow Zero-Degree Nozzles
A pinpoint or very narrow nozzle concentrates the force of the water on a tiny area. Used on paving, it digs into joints and can also etch the paver surface, leaving stripes. A wider fan nozzle spreads the force and is far gentler on joints.
Holding the Wand Too Close
Pressure drops quickly with distance. Holding the nozzle only a few centimetres from the surface multiplies the force on the joints. Small changes in distance can make a large difference to how much sand is lost.
Cleaning Along the Joints
Directing the water stream straight down a joint line acts like a trench digger. Spraying across joints at an angle is less likely to flush sand out.
Already Weak Joints
Older paving in Perth that has been through many hot summers and winter downpours may already have thin or compacted joints. These are more vulnerable to further loss, and extra care is needed.
Techniques to Prevent Sand Loss
Choose the Right Pressure and Nozzle
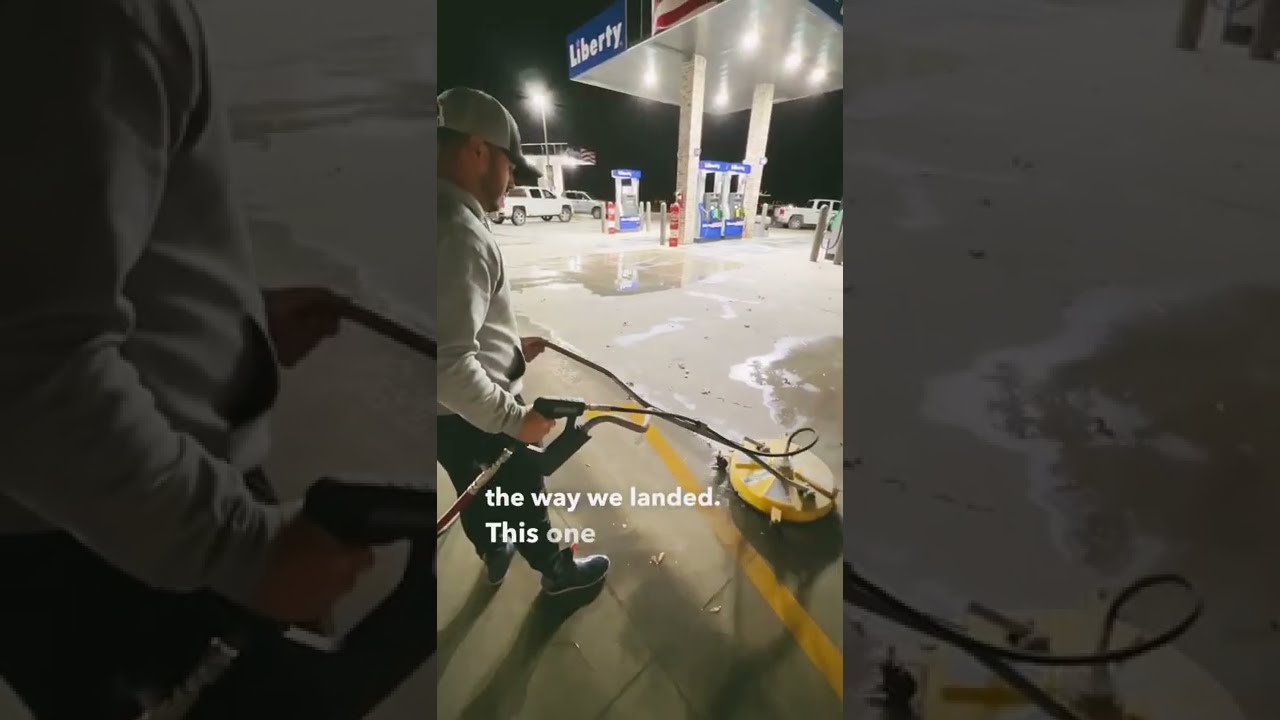
For most residential paving, moderate pressure with a 25 to 40 degree fan nozzle is sufficient to remove dirt, algae and general grime. Test a small, inconspicuous area first and increase pressure only if necessary. A rotary surface cleaner, which uses spinning jets inside a hooded housing, is often the best option for large paved areas because it keeps the water close to the surface and limits splash and joint scouring while giving an even finish.
Maintain a Consistent Distance and Angle
Keep the nozzle a consistent distance from the surface, typically 30 centimetres or more with a fan tip, and hold the wand at a slight angle rather than perpendicular. Work in overlapping, sweeping passes, moving across the joints rather than along them.
Pre-Treat Stains and Growth
Instead of relying on raw pressure, apply a suitable cleaning treatment first. Mould, algae, lichen and general grime can be loosened with a paving-safe detergent or biocide, which allows lower pressure to be used. Oil and rust stains need specific treatments and should not be addressed by increasing pressure. Always check that any chemical is suitable for your paver type and that runoff is managed so it does not enter stormwater drains.
Work Methodically
Clean in sections and avoid going over the same spot repeatedly. Inspect joints as you go. If you see sand being flushed out or collecting in small piles at the edges, reduce pressure, widen the nozzle or increase distance immediately.
Protect Vulnerable Areas
Edges, areas near garden beds, and sections with visibly low joints deserve extra caution. Use lower pressure and a gentler approach in these places, and keep an eye on where the dislodged sand is going.
Managing Runoff and Environmental Responsibilities in Perth
Water and sand washed off paving can carry sediment, detergents and contaminants. In Western Australia, stormwater drains typically discharge to waterways such as the Swan and Canning river systems or to local wetlands without treatment, so only clean water should enter them. Local governments across the Perth metropolitan area expect washing activities to avoid sending polluted water into the drainage network. Practical steps include:

- Directing wash water onto lawn or garden areas where it can soak into the soil, if the cleaning agents used are suitable for this.
- Using sandbags, drain covers or a wet vacuum to capture runoff on commercial or heavily contaminated sites.
- Sweeping up loose sand and debris rather than hosing it into gutters.
- Checking with your local council about current requirements for washdown water, as rules can vary between areas.
Water use is also relevant in Perth, where sprinkler and water restrictions apply. Efficient equipment such as surface cleaners can reduce the amount of water used compared to open wand cleaning.
Re-Sanding Pavers After Cleaning
Even with careful technique, some sand movement is normal, and a re-sanding step is recommended after pressure cleaning, particularly when joints have been visibly lowered. Joints should ideally be filled to within a few millimetres of the paver surface.
- Let the paving dry completely. Damp sand clumps and will not settle into the joints. In Perth's warm, dry conditions this often takes only a few hours in summer but longer in winter.
- Choose the right sand. Use a fine, clean, well-graded jointing sand. Avoid coarse building sand, which does not pack tightly, and sands with high clay or salt content.
- Spread the sand generously. Pour it over the surface and sweep it in different directions with a stiff broom so it works down into the joints.
- Compact the joints. If you have access to a plate compactor with a rubber pad, run it lightly over the paving to vibrate the sand down, then add more sand and repeat.
- Sweep off the excess. Remove surplus sand from the surface so it does not stain or leave a hazy residue.
- Consider a joint stabiliser. Polymeric or stabilising sands bind together when activated by moisture, and they resist washout, weeds and ants. Follow the manufacturer's instructions precisely, since misapplication can leave a residue on the paver face.
Sealing After Cleaning
Sealing is another option once the paving is clean and re-sanded. A quality penetrating or film-forming sealer can protect the paver surface from stains and slow algae growth. Some sealers also stabilise the top layer of joint sand. Be aware that sealing is not a substitute for properly filled joints, and the paving should be completely clean and dry before application. Slip https://housewashingperth.com.au/driveway-cleaning/ resistance should be considered, especially on pool surrounds, steps and sloping driveways, where a non-slip additive or a sealer rated for wet areas may be appropriate.
When to Call a Professional
Professional paving cleaners use calibrated equipment, surface cleaners and appropriate chemical treatments, and they understand how different pavers respond. Consider hiring a specialist if:
- Your paving is old, heavily weathered or already has loose pavers.
- You have large areas, such as driveways, patios or commercial forecourts.
- There are stubborn stains such as rust, oil or tannin.
- You want cleaning, re-sanding and sealing completed as one coordinated job.
When selecting a provider in Perth, ask whether they use surface cleaners, whether re-sanding is included, how they manage wastewater, and whether they carry public liability insurance.
Ongoing Maintenance to Reduce Future Sand Loss
Regular, gentle maintenance keeps joints intact longer and reduces the need for aggressive cleaning. Sweep paving frequently to remove leaf litter and dirt, which hold moisture and encourage growth. Ensure downpipes and sprinklers do not spray directly onto joints, because repeated water flow washes sand out gradually. Check joints at least once a year, ideally after the winter rains, and top up sand where required. Treat weeds and moss early with a suitable product rather than waiting until heavy pressure cleaning is necessary.
Key Takeaways
Preventing sand loss comes down to using the right equipment, controlling pressure and distance, working across joints rather than along them, and replacing any sand that is displaced. Paving in Perth faces strong sun, sandy soils and heavy seasonal rain, so intact joints matter for the long-term stability and appearance of any paved area. With careful technique and proper follow-up, pressure cleaning can restore the look of your paving without compromising its structure.
House Washing Perth
(08) 7828 5551